license.txt file, and the etc folder containing the config.json, devices.json, and all
associated address map files. For instructions on creating these files, refer to the
File Configuration section.
Connect to the Controller
Enter the Controller IP Address
In the connection settings, enter the IP address of the PPL controller.
Enter Credentials
Update the username and password fields to match the credentials defined in the
config.json file on the
controller, under the nats entry.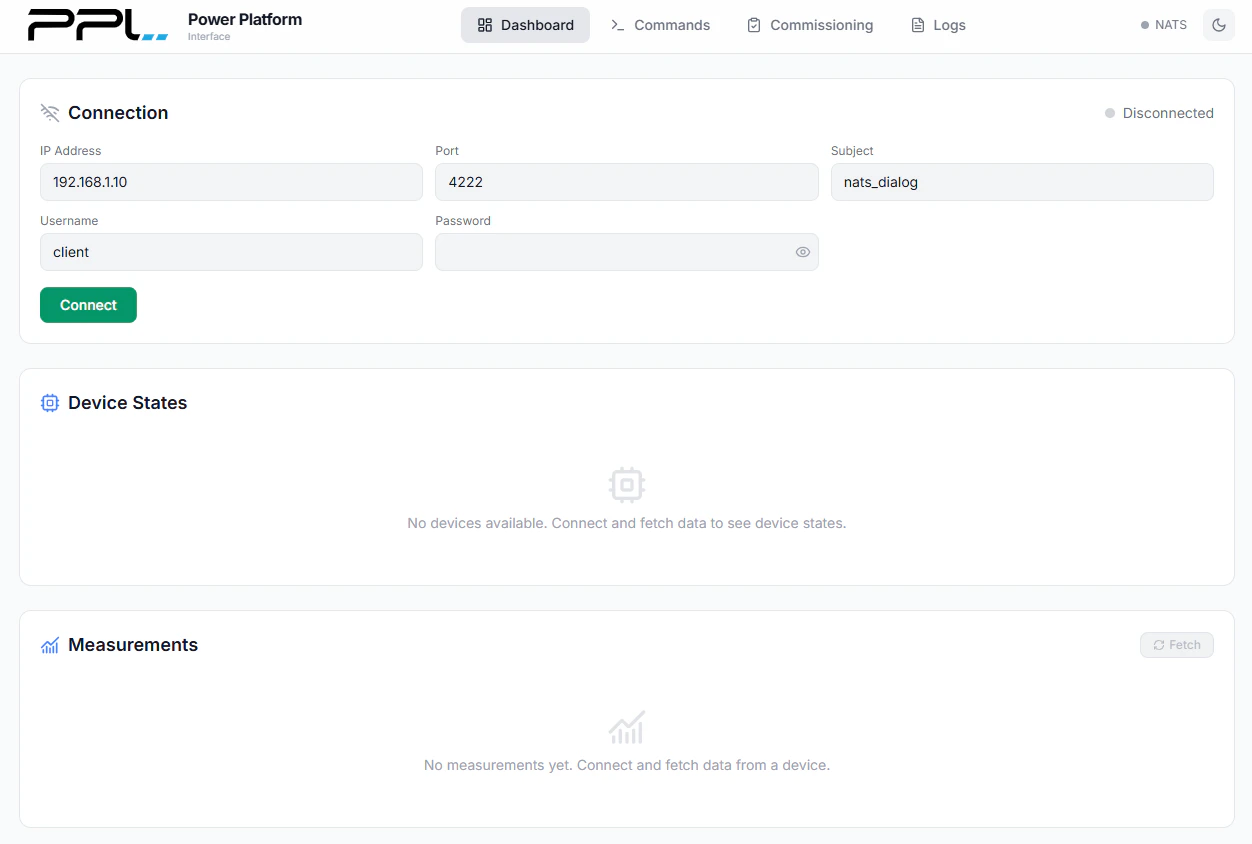
Troubleshooting Connection Issues
If the dashboard is unable to connect to the controller, review the following common causes:Show Connection Timed Out
Show Connection Timed Out
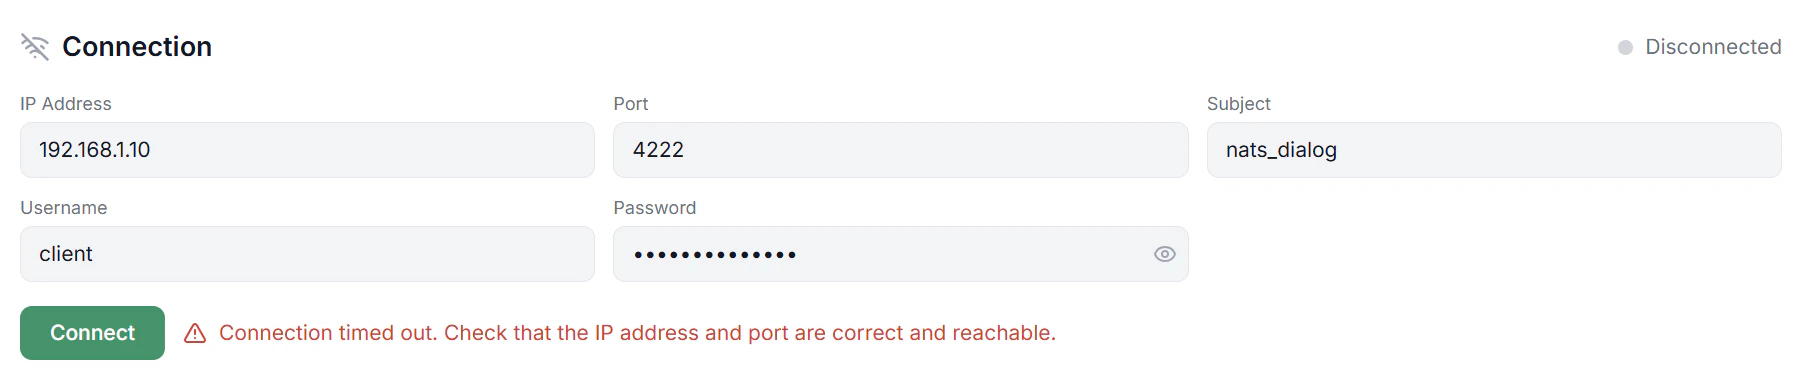
- The IP address is incorrect.
- The port is not set to
4222. - The controller is not online or not reachable on the network.
- The PPL application has not started on the controller. Possible causes include:
- Missing
license.txtfile on the controller. - Missing
devices.jsonfile on the controller. - Missing
config.jsonfile on the controller.
- Missing
Show Authorization Error
Show Authorization Error

config.json file under the nats entry. Verify and correct the credentials, then try connecting again.